Borosilicate glass jar manufacturing process
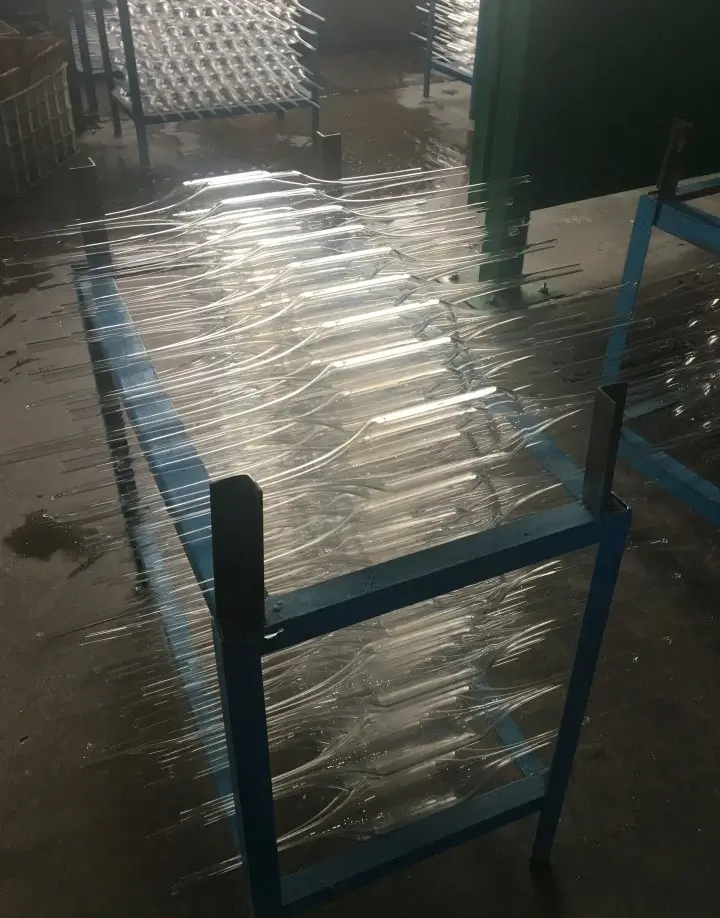
1. Generally, borosilicate glass is made of borosilicate glass pipe as the base material.
Generally, there are more than a dozen commonly used sizes, which can meet daily use. If you have other needs, you can also customize the glass tube according to your own needs. Different sizes, thicknesses, and diameters are different, and they are not all transparent at the same time. There are also high borosilicate glass tubes in other colors, but the most commonly used ones are transparent.

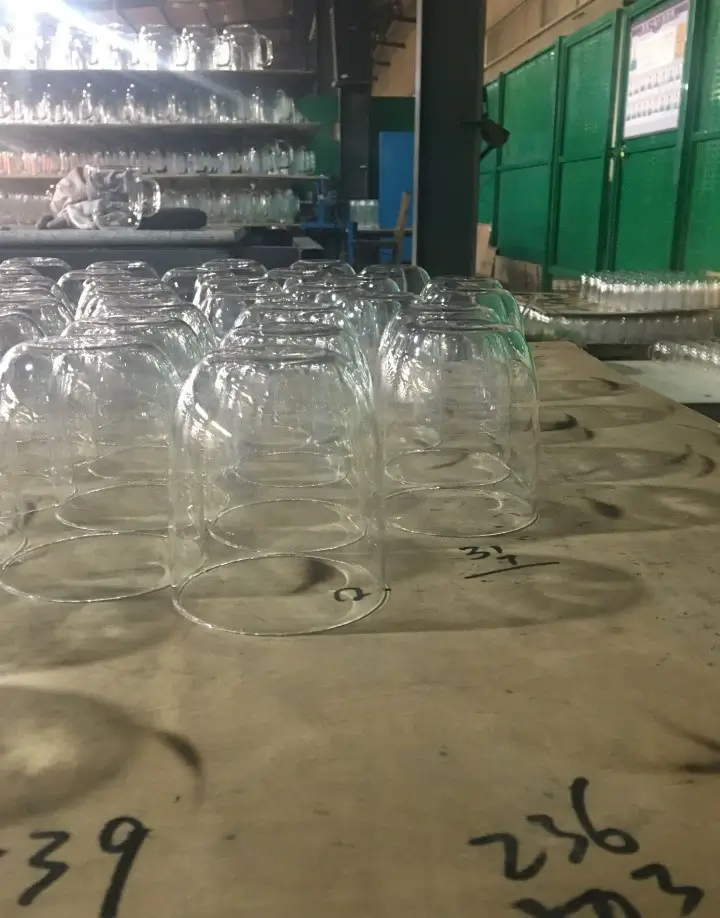
This is one of them. It is in use. Before use, the rag will be pulled with a steel wire to wipe the inside of the pipe to prevent dust and so on. If the inside of the tube is not clean, or if the weather is windy in spring, the glass tube will melt impurities into it when it melts, causing impurities in it and discarding the product.
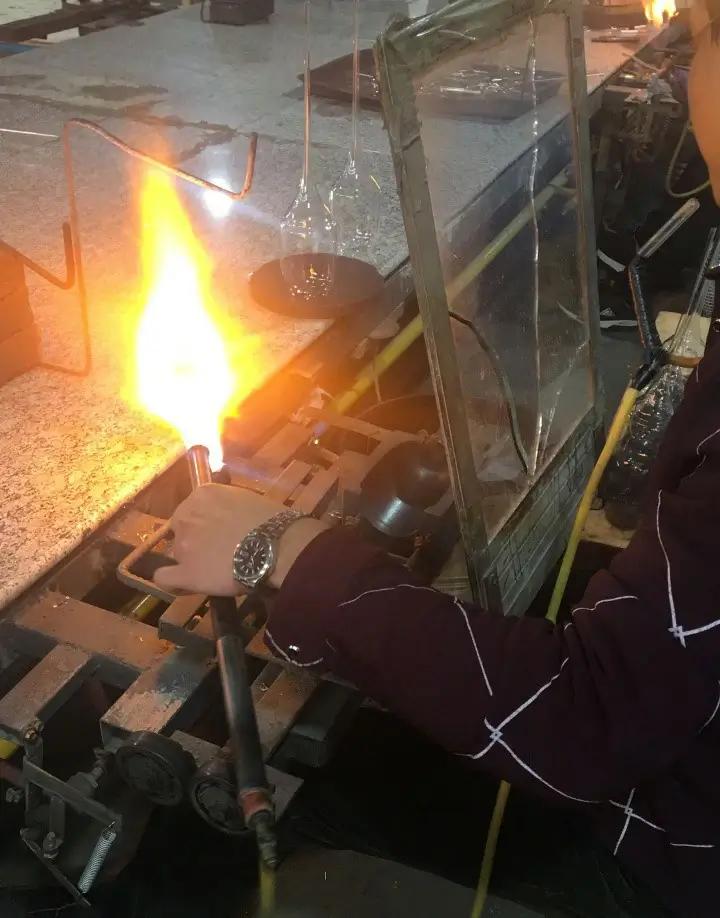
2. According to the product drawings, melt the glass tube into sections.
If the height of the cup is more than ten centimeters, then the glass length of six or seven centimeters may be enough. If the pot is needed, it may need to be longer and larger in diameter. Therefore, the products are different, the size of the pipe is different, and the size of the cut is also different.

They are all burned and melted into sections with filaments at both ends. This process is called wire drawing.
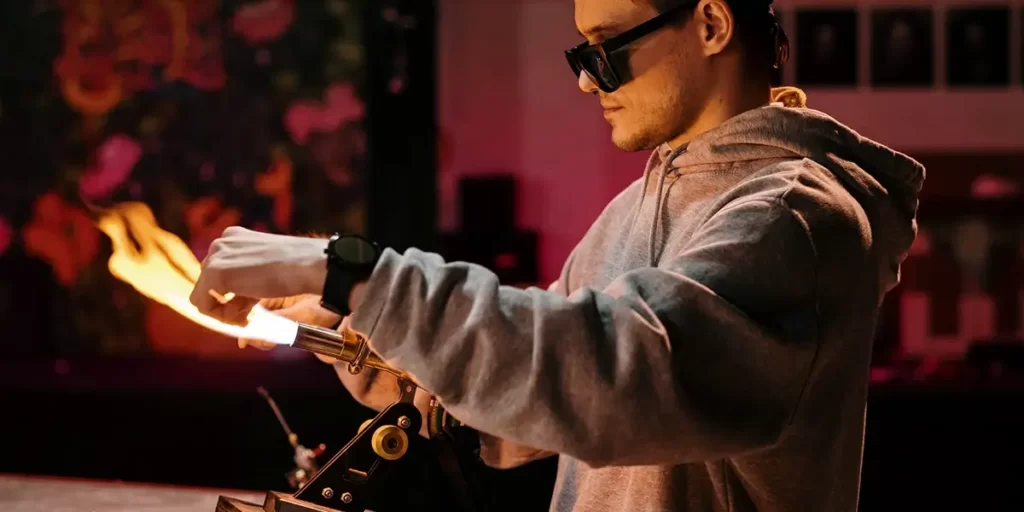
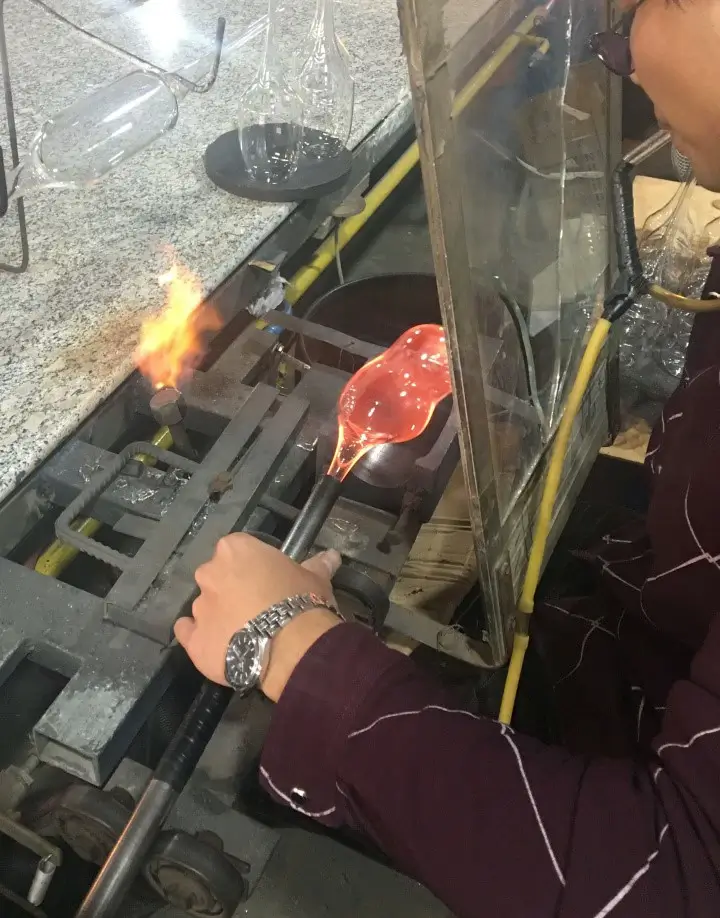
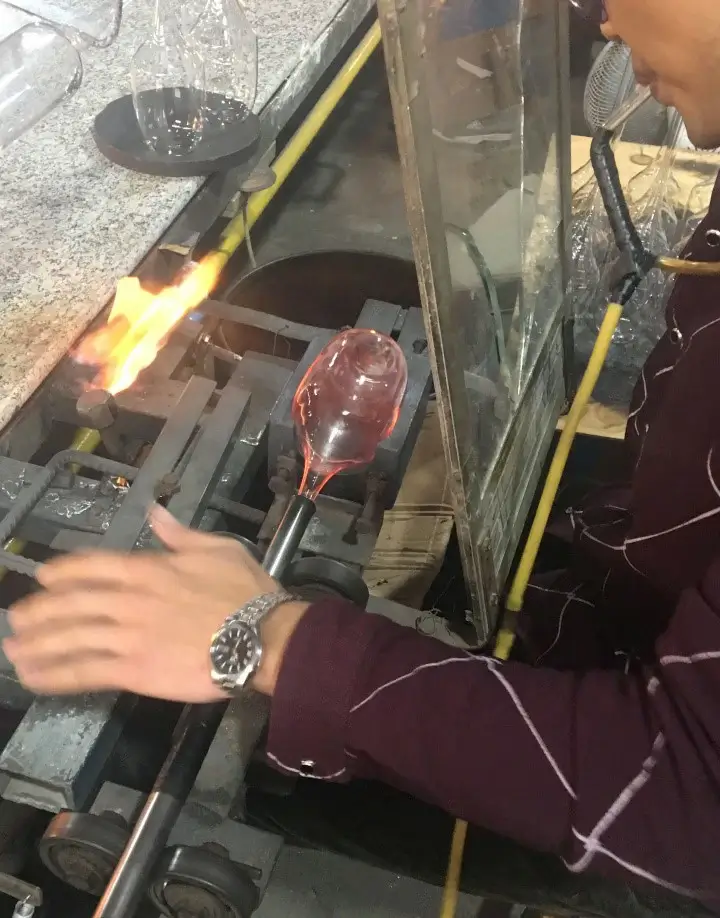
3. After that, start blowing tires.
There is half a graphite mold, then heat the glass tube, remove the wire drawing at one end, and then connect the remaining end with a rubber tube, and the other end of the rubber tube is in the mouth. At this time, melt the glass, put it into the mold, blow air into the glass, make it bulge, and then rotate the glass part at the same time to make it rotate in the mold.
Therefore, most general heat-resistant glass products are symmetrical about the central axis because they are rotationally formed.
(Iron mold blowing is at this step, the glass is softened and put directly into the iron mold, and then gas is blown into the other end to make the glass fill the entire cavity of the mold and cool to shape.)
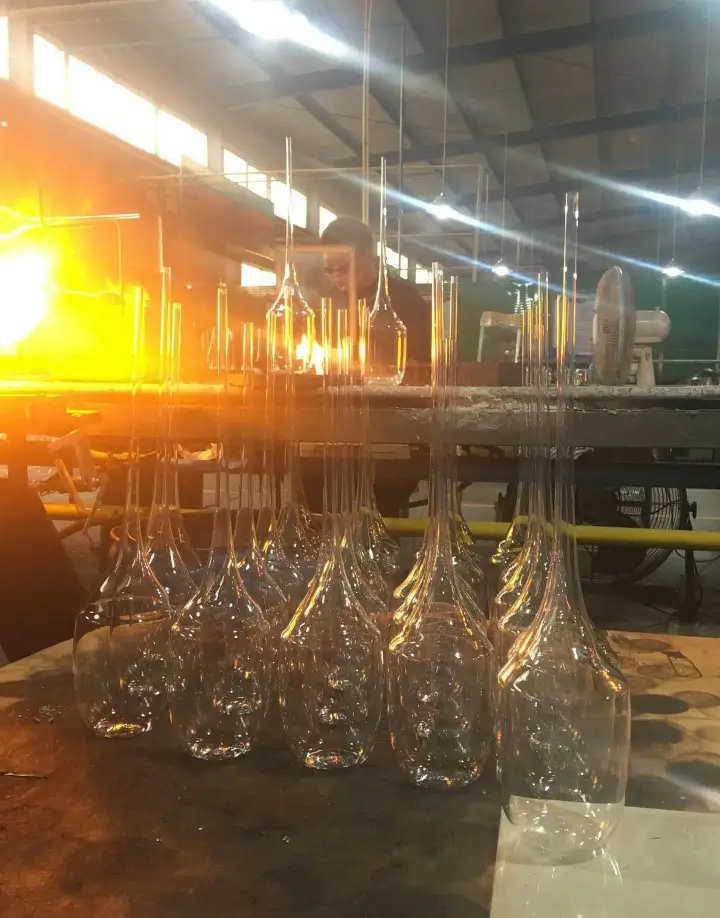
4. After that, remove the wire on the top and make the mouth of the cup, which is called the mouth of the cup
The semi-finished product is fixed on a small machine tool at one end, and the semi-finished product can be grasped and rotated.
Then, under the position where the cup needs to be opened, there is a flat and long copper head, T-shaped, with a row of small holes on it for fire. When the glass is rotated, a ring will be heated evenly. When it is soft enough to melt, Just stretch the excess part.
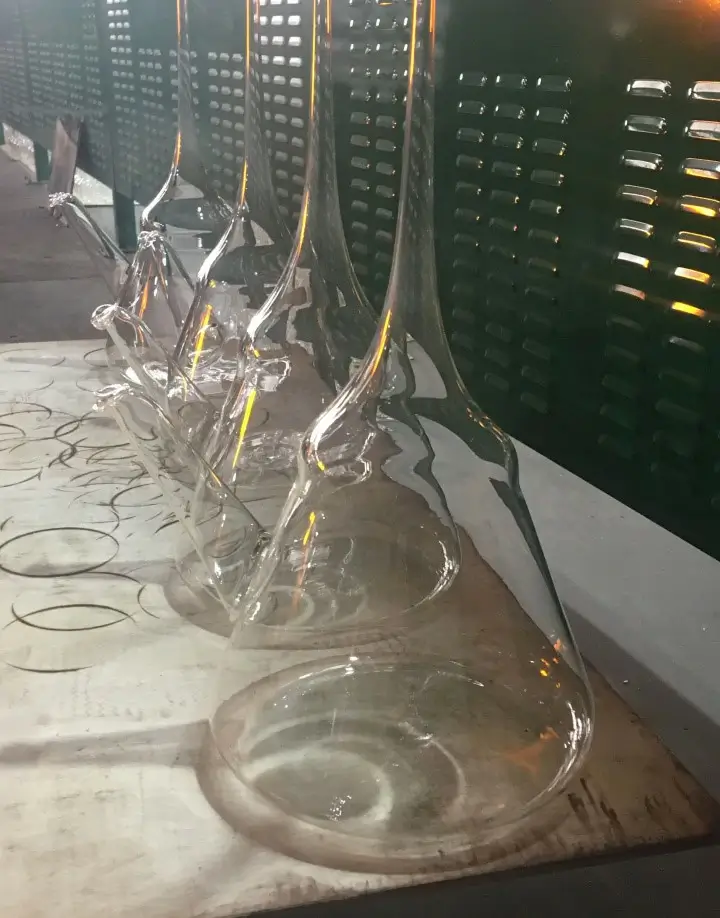
5. Now the appearance of the cup has basically come out, but there is still a lack of a handle, after all, the single layer of hot water will be hot. This process is called picking up.
Cut a glass rod into sections as needed, and then burn it soft. After the whole is soft, pinch the two ends with tweezers and fix it on the mold. After it cools, it will be formed. This is the process of the handle.
Determine the position where the handle needs to be bonded, boil one end of the handle and the cup where the bonding position needs to be bonded together, and then glue the two together. Use tweezers to adjust the position before it is completely fixed, and then use the torch to melt the remaining end with fire, and that’s it.
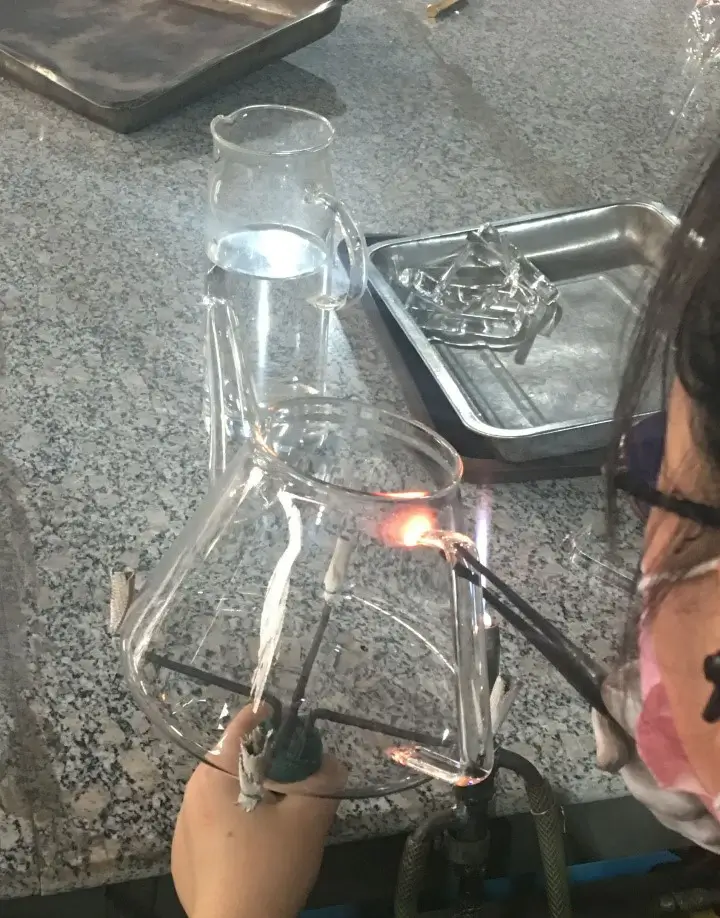

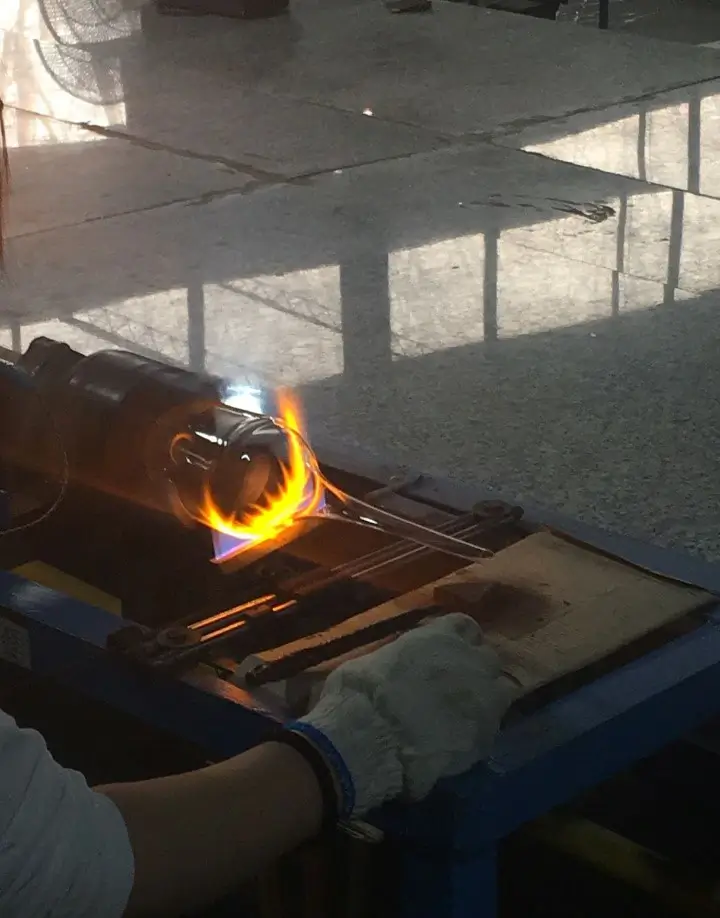
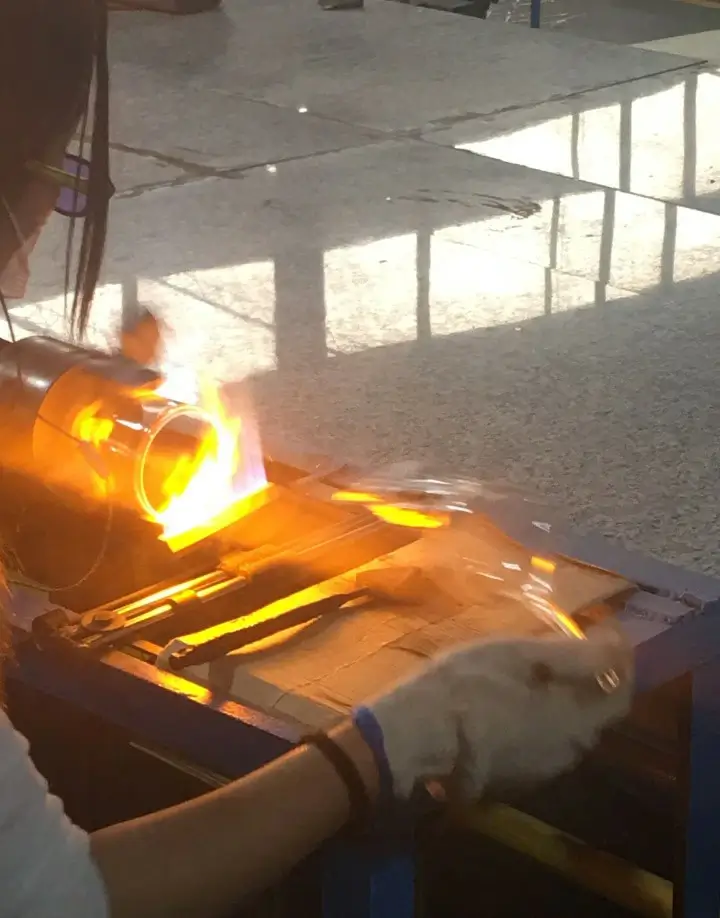
6. I didn’t find the sticky handle of the cup, so I took a picture of the sticking process of a pot. Well, the process is the same. Then look at how the spout is made, we call it: the spout.
requires the cooperation of two people, a master and an apprentice. The apprentice is responsible for controlling the temperature of the glass rod, and the master is responsible for the process of leading the mouth.
It is necessary to make one end of the glass rod slightly soft, and the other end is about to flow. Then, the position corresponding to the spout was slightly soft at the same time. At this time, the apprentice handed the prepared glass rod to the master, and the master put the melted end of the glass rod on the slightly softer part of the pot body. Then, stretch the glass rod outwards while blowing air inwards. If you don’t blow air, the spout that is stretched out is suffocated.
As for the shape of the spout, it depends entirely on the master’s technique and blowing skills. The smaller the area, the smaller the bottom of the spout. The amount of gas blown in affects the fullness of the spout. There is also the appearance of the spout, which is completely stretched out by hand. It’s really a craft.
Finally, use a grinding wheel to cut off the excess part of the spout, and then use a torch to burn the cut part to round it.


7. The last and very critical step is called annealing.
The glass has gone through so many heating processes, and the temperature of the product itself is different from the fire, which will cause the stress of the product itself to be inconsistent. That is, the product itself has many forces pulling in various directions, and the directions of its own forces are inconsistent. At this time, the product may crack over time. So, in the end, the product needs to be heated evenly once. There is a large annealing kiln, long and about 1.7 meters high, with a conveyor belt entering from one end and exiting from the other. At this time, put the product in from one end, and slowly go from low temperature to high temperature. The highest temperature is close to the melting point of glass, and then from high temperature to low temperature, the whole process takes about 1 hour. The products produced in this way are the safest.